
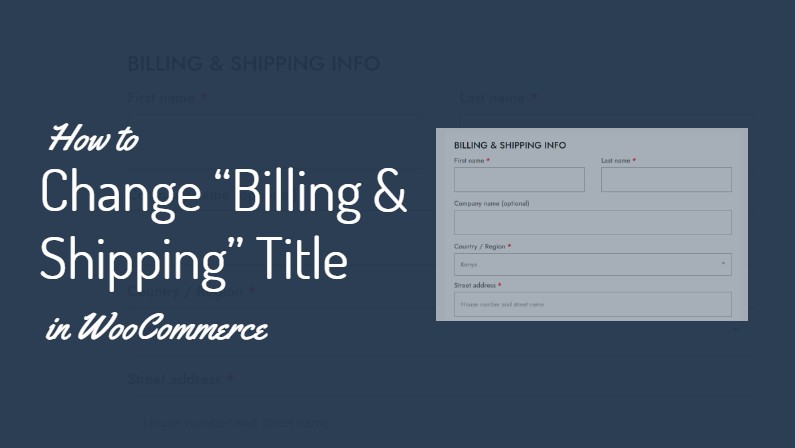
If you’re running an eCommerce site for a pickup-only or digital downloads shop using WooCommerce, you may have noticed that the default checkout form displays an H3 heading that reads “Billing & Shipping”.
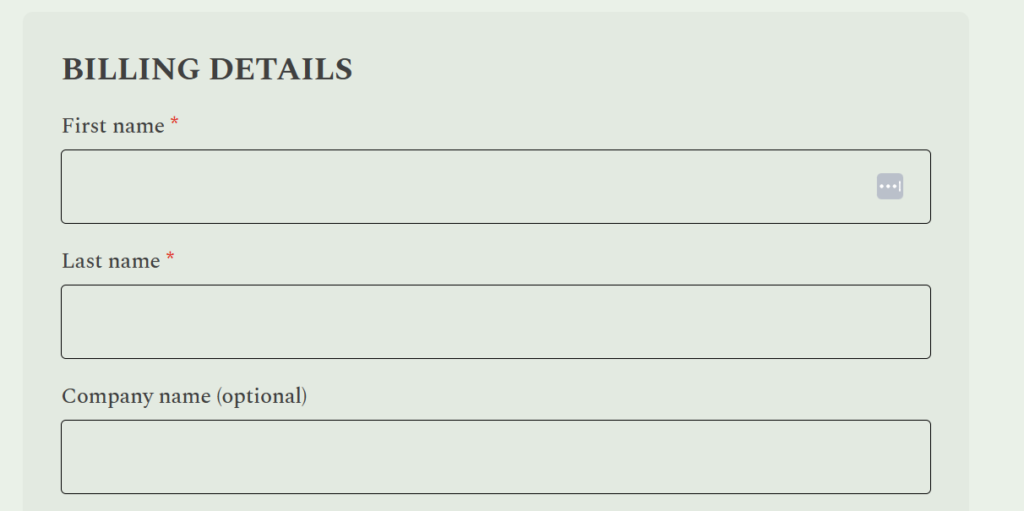
For businesses that don’t offer shipping, this can be confusing for customers. Fortunately, there’s a simple way to customize this heading to better reflect your business model.
The Problem
By default, WooCommerce uses the heading “Billing & Shipping” on the checkout page. For pickup-only shops or shops that sell digital products and services, the “Shipping” part is unnecessary and potentially misleading.
The Solution
We can modify the checkout heading to display “Billing” or “Billing Info” instead. This small change can significantly improve the user experience and reduce confusion during the checkout process.
How to Implement the Change
To make this adjustment, you’ll need to add a small piece of code to your theme’s functions.php file. Here’s the code snippet you’ll need:
/**
* Snippet Name: WooCommerce Change "Billing & Shipping" Heading On Checkout Page
* Snippet Author: divibanks.cloud
*/

function wc_billing_field_strings( $translated_text, $text, $domain ) {
    switch ( $translated_text ) {
        case 'Billing details' :
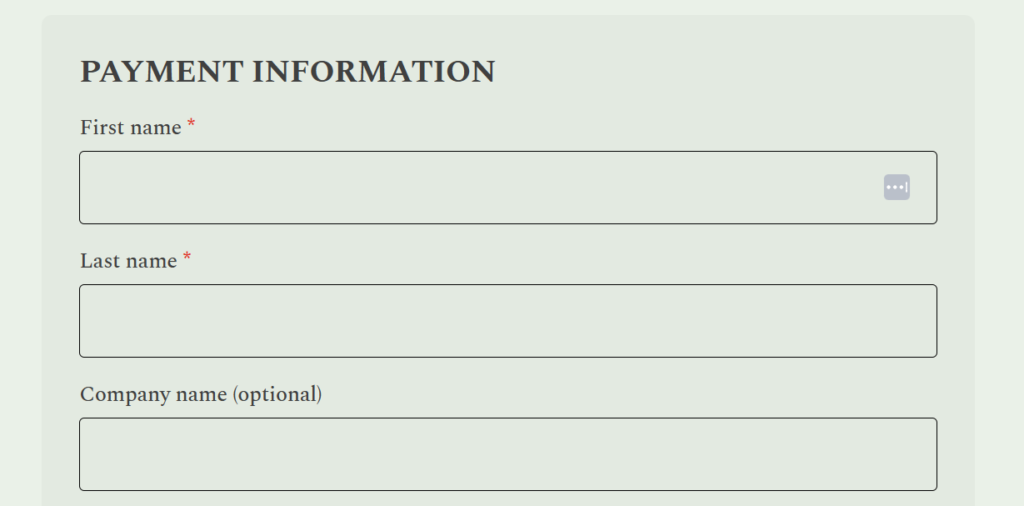
            $translated_text = __( 'Payment Information', 'woocommerce' );
            break;
    }
    return $translated_text;
}
add_filter( 'gettext', 'wc_billing_field_strings', 20, 3 );
By making this small adjustment, you can create a more accurate and user-friendly checkout experience for your eCommerce site.
Remember to always test changes like this in a staging environment before applying them to your live site.
And, always use a child theme to implement changes like these, or use the Code Snippets plugin.


0 Comments