
If you’re using the Divi theme for your WordPress website and want to customize the appearance of your blog posts page, one simple tweak you can make is adding padding around the featured images.
This can help create a more visually appealing layout and better separate the featured image from the surrounding content.
Pro Tip: How to Build a Website With Divi Theme – Beginner’s Guide
In this tutorial, you’ll learn how to add padding around featured images in Divi’s blog module using a simple custom CSS code.
Before:
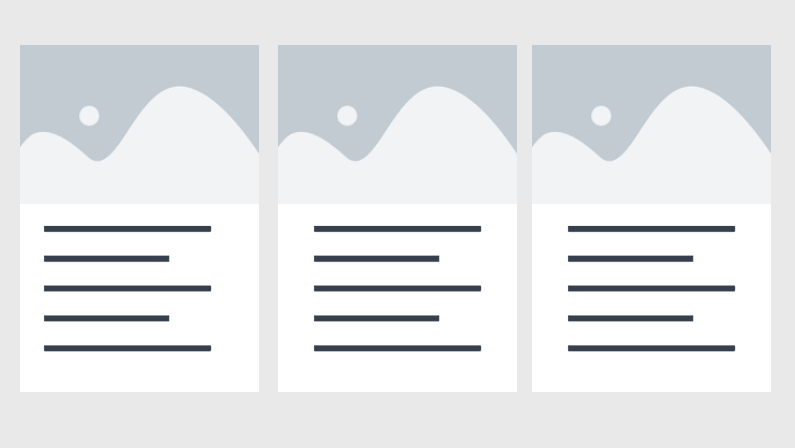
How to Add Padding Around Featured Images in Divi’s Blog Module with Custom CSS
- In the blog module settings, switch to the “Advanced” tab.
- Scroll down to the “Main Element” section under the Custom CSS section.
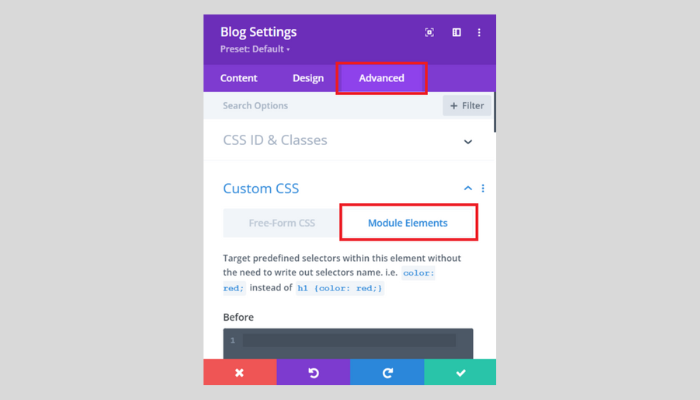
In the Main Element box, add the following code:
.et_pb_blog_grid .et_pb_image_container img {
  padding: 20px; /* Adjust the value as needed */
}
- This code targets the featured image within the blog grid and adds padding around it. You can adjust the padding value to your desired amount.
- Click “Save Changes” to apply the custom CSS.
Now, you will be having something like this:
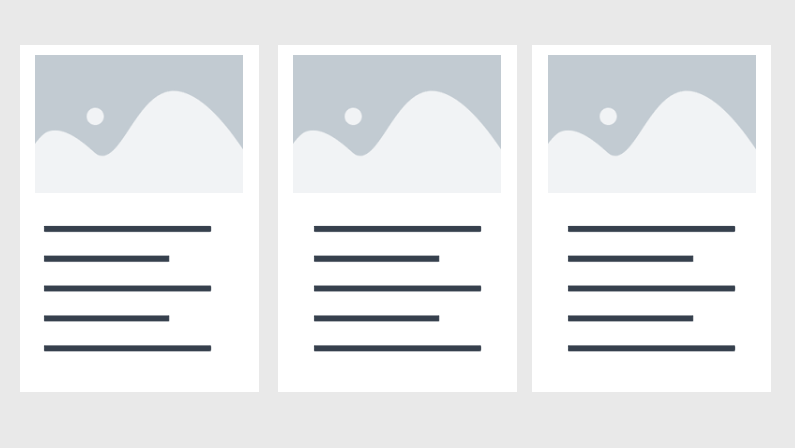
You’ll now have added padding around the featured images in your Divi blog module, giving your blog posts a more polished and visually appealing look.
I hope that you enjoyed this post. Subscribe to Divi Banks on YouTube and join our newsletter for more crisp content on WordPress and web design.


Very useful guide. Thanks for sharing.
Thank you, Mercy.