

Changing images into grayscale for your Divi website can be done without the need for an editing software like Photoshop. You will just need a few lines of CSS code to achieve this effect.
One scenario where grayscale images might be required is when displaying partner logos on your website’s homepage. If you wish to present all these logos in a grayscale format, the process is very simple.
In this tutorial, we are going to change this…

… to this:

The first step is to assign a CSS class to each image you want to convert to grayscale. For this example, we’ll use the class name “dbgs”.
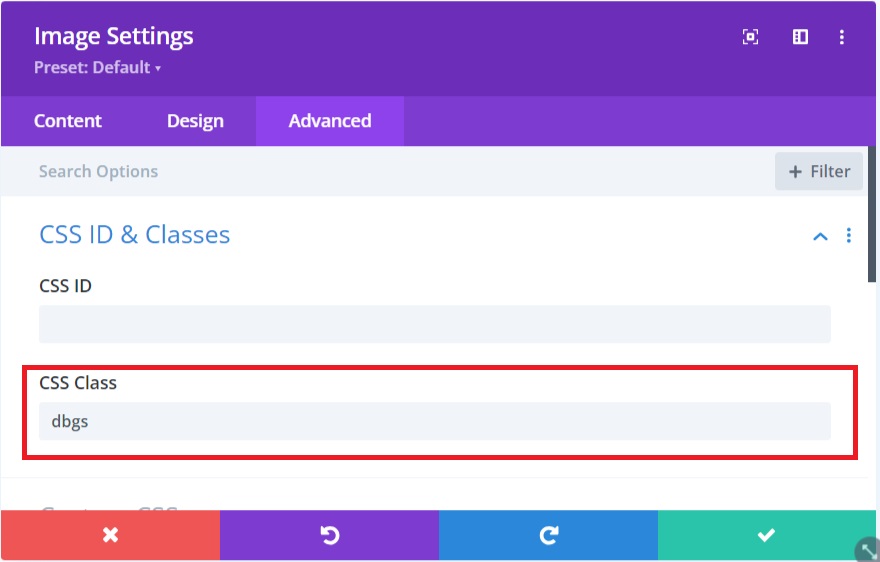
After that you need to add the following CSS code to the Divi theme options custom CSS field:
/* Make images grayscale in Divi */
.dbgs {
    -webkit-filter: grayscale(100%);
    filter: grayscale(100%);
    opacity: 0.6;
    filter: alpha(opacity=60);
}
In WordPress admin go to Divi -> Theme Options -> General and scroll down to Custom CSS box.
Here is a tutorial showing you where to place the CSS code in Divi.
Explaining the code
The first 2 lines of this code convert the image(s) into grayscale. The other 2 lines of the code changes the opacity of these images to 60 % o they are not too dark gray.
If you want to make grayscale just one image, you can apply the 4 lines of the above CSS code (from inside the brackets) just to the Main Element Custom CSS field in the advanced options of your image module.
Here is a demo:

I hope that you enjoyed this post. Subscribe to Divi Banks on YouTube and join our newsletter for more crisp content on WordPress and web design.




0 Comments